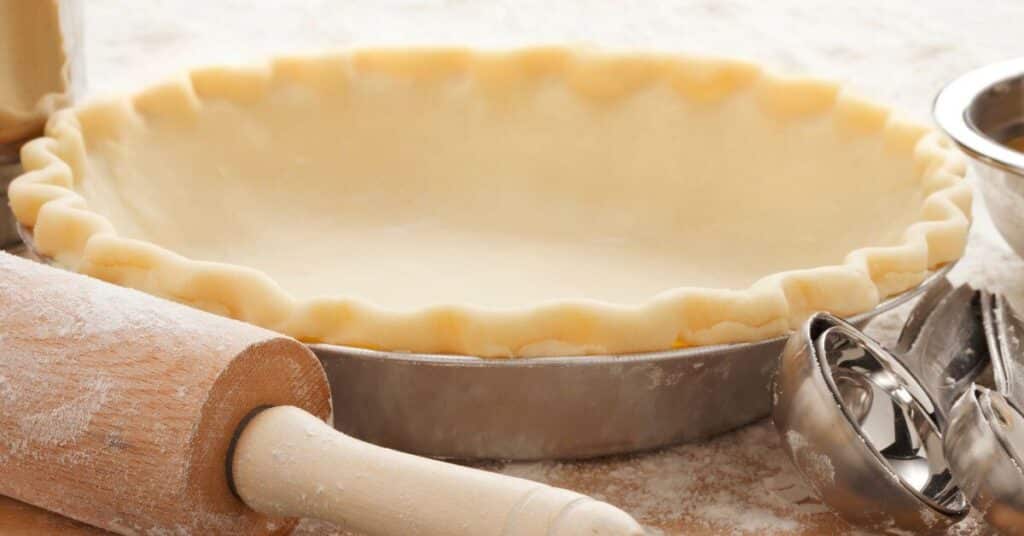
Making a pie crust can be tricky and time-consuming, especially when you need the right tools or ingredients. People often make pie crust using a food processor because it saves them time. But what if you don’t have one at hand? You might think making a pie crust without a food processor is impossible. Did you know that it is possible to make a pie crust without a food processor? You can make a delicious and flaky pie crust with the right technique and ingredients without special equipment.
So, wondering how to make a pie crust without a food processor? Read ahead and find out.
Can you Make a Pie Crust without a Food Processor?
The answer is yes! It may take extra time and effort, but making an excellent pie crust is possible without using a food processor. The main challenge when making a pie crust without a food processor is getting the dough right. You must mix the ingredients with your hands or other kitchen utensils to do this. Once your dough is ready, it should be rolled onto parchment paper or wax paper and then transferred into your baking dish.
Tips to Remember
Here are some essential tips to remember while making a pie crust without a food processor:
- When making your dough, use cold ingredients such as butter or shortening chilled in the refrigerator for at least 30 minutes before you begin. This will help ensure that your dough stays cold and flaky throughout the process.
- Make sure to mix all of your ingredients together thoroughly so that everything is evenly distributed throughout the dough. This will help prevent any lumps or clumps in your final product. Because you are not using a food processor, spend extra time mixing everything.
- Once all of your ingredients are mixed together, use two knives or a pastry blender to cut in the fat until it is incorporated into the mixture and resembles coarse meal or pea-sized pieces of butter/shortening throughout the dough.
- Slowly add liquid (water, milk, etc.) to the mixture while stirring with a wooden spoon until it forms a ball-like shape but still remains slightly sticky to the touch.
- After forming your dough into a ball shape, wrap it tightly in plastic wrap and chill it for at least 30 minutes before rolling it out on a lightly floured surface for the best results.
- When rolling out your dough, start from the center and roll outwards using even pressure to get an even thickness across all parts of your crust.
- For best results, pre-bake your crust by partially baking it before adding any fillings so that it has time to set up properly and doesn’t become soggy when baked with fillings later on down the line!
How to Store a Pie Crust
Here are some tips to help you store your pie crust:
- Wrapping the dough in plastic wrap and placing it in an airtight container is the simplest and most effective way to store a pie crust. This will keep the dough from drying out or becoming too sticky.
- Another great way to store a pie crust is to place it in the refrigerator for up to two days. This will keep it fresh and ready for use when you need it. Just ensure that your container is airtight so that no moisture gets into the dough while it’s stored there.
- If you want to save your pie crust for longer periods of time, freezing is your best bet. To freeze, wrap your dough tightly in plastic wrap and then place it into an airtight container or freezer bag before placing it into the freezer for up to three months. When you’re ready to use it, let it thaw at room temperature before using it as normal.
How to Make a Pie Crust Without a Food Processor

- Preparation Time: 5 minutes
- Cook Time: 40 minutes
- Additional Time: 2 hours
- Total Time: 2 hours 45 minutes
Ingredients
- 2 ½ cups all-purpose flour
- 1 tbsp. granulated sugar
- ½ cup unsalted butter, cold & cut into pieces
- 1 tsp. salt
- ½ cup vegetable shortening, cold & cut into pieces
- ½ cup ice water
Instructions
- Pour ½ cup of water into a small bowl, add ice, and set aside.
- Add sugar, flour, and salt to a large bowl and whisk until everything combines.
- Then add butter and shortenings into the flour mixture and toss gently using your hands until the flour is well coated.
- Cut butter and shortenings using a pastry cutter or fork until the mixture becomes crumbly.
- Pour in 4 tbsp. of ice water and mix gently using a rubber spatula; keep adding water 1 tbsp. at a time, keep mixing until the mixture comes together; avoid adding too much water and overmixing.
- When the dough is ready, transfer it to the workplace and shape it into a ball; divide it into half and roll using a rolling pin until 1″ thick rounds.
- Wrap the rounds into plastic wrap and place them in the refrigerator for a night.
