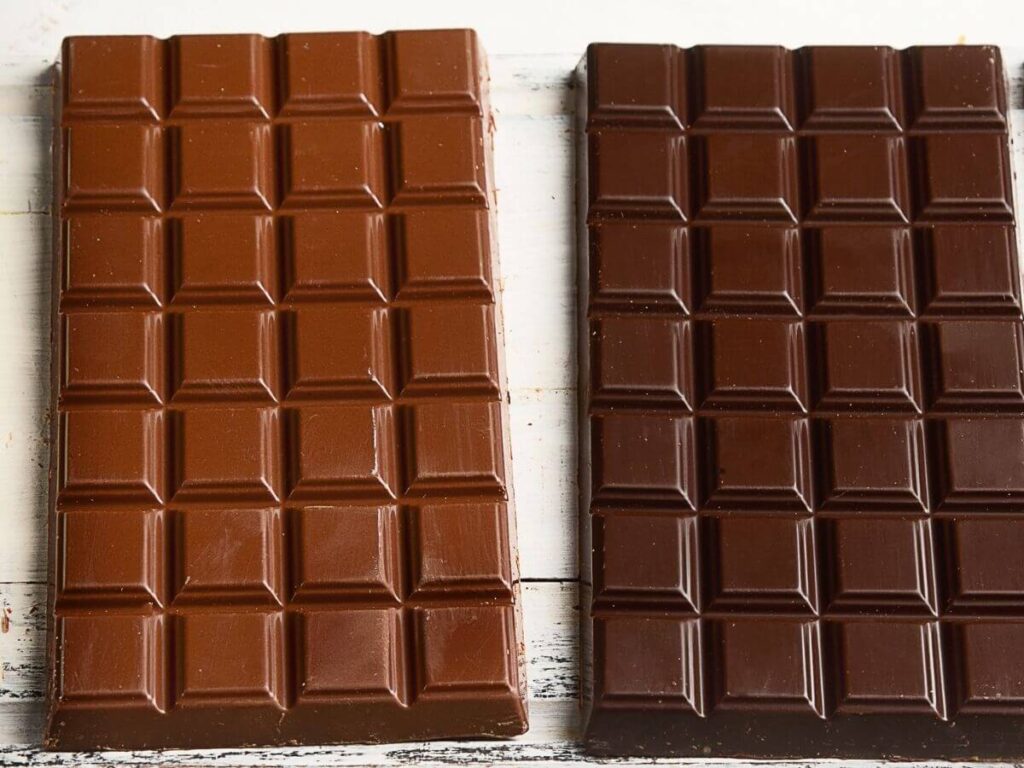
Who doesn’t love chocolate? It’s one of the most delicious foods in the world, and it comes in so many different types, such as dark chocolate, milk chocolate, white chocolate, and even pink chocolate. But dark chocolate is probably the only type of chocolate that not many people love.
If you belong to the same category of people but have a lot of dark chocolate sitting in your kitchen cabinet, then don’t despair. You can convert that into milk chocolate easily, and we’re going to discuss how to make milk chocolate from dark chocolate in this blog post.
How to Make Milk Chocolate from Dark Chocolate
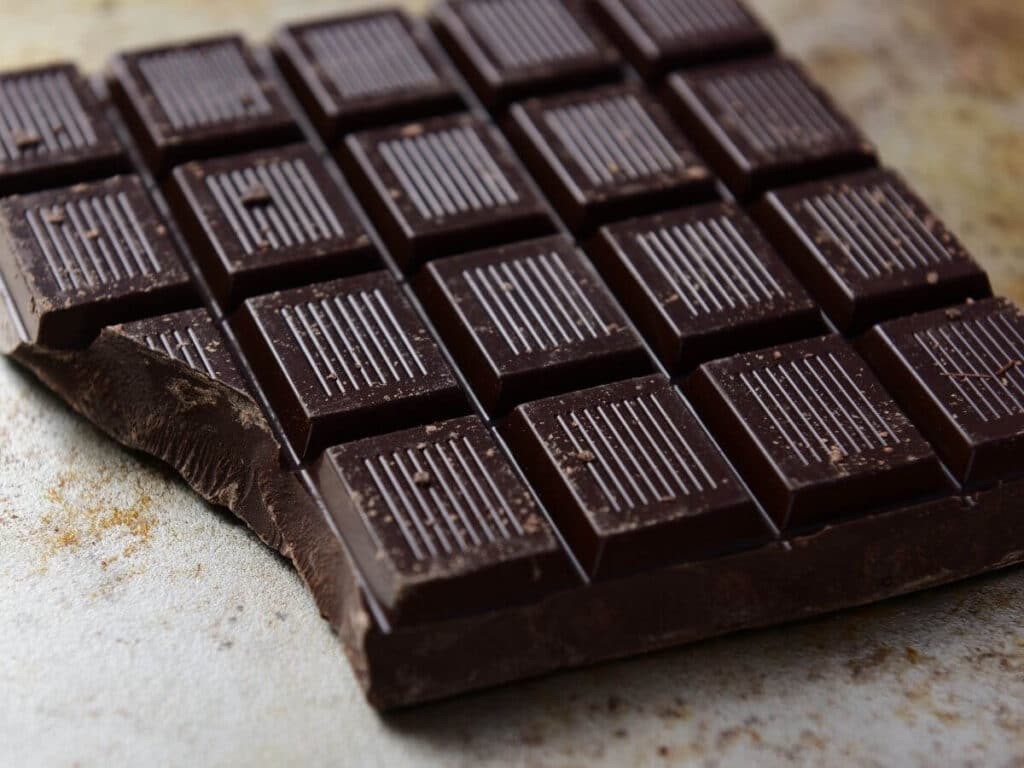
It’s certainly possible to make milk chocolate from dark chocolate, and the process is very easy. Dark chocolate consists of some sugar, cocoa butter, and cocoa solids and has very little or no milk. That’s why it has a bitter taste that you might not like.
How Bitter Is Dark Chocolate?
The bitterness of dark chocolate depends upon the cocoa percentage that it contains. There are three common percentages which are 50, 85, and 99. The higher the percentage of cocoa solids, the more bitter the dark chocolate will be.
Some people like dark chocolate, and they eat it as is without adding any other ingredient to decrease the bitterness. But if you’re a milk chocolate lover, then you most probably will find dark chocolate, even with just 50 percent cocoa solids, unappealing. Let’s jump into the process to make milk chocolate from dark chocolate.
Easiest Method to Make Milk Chocolate from Dark Chocolate

Ingredients
- 7 oz Dark Chocolate (with 50 percent cocoa solids)
- 4 tablespoons of condensed milk
- 2 tablespoons of butter
Instructions
Step 1: Chop the Dark Chocolate into Small Pieces
The first step is to chop your dark chocolate into small pieces. If you’re using chocolate chips, then you won’t need to perform this step. After chopping, you’ll need to place the small pieces into a double boiler.
Step 2: Melt the Chocolate
Small pieces will melt a lot faster than a single big piece. It’s also important to use a double boiler for the melting process. It comes with two pans on top of each other, and you’ll need to fill the bottom one with water. However, you’ll need to make sure that it must not touch the bottom of the pan on top of it.
It allows the chocolate to melt gradually with the indirect heat generated by steam by keeping it from overheating at the same time. It’s a crucial step that can make or break your entire melting experience.
Once you have poured water into the lower pan and placed the chopped chocolate in the upper one, you’ll need to place the boiler on the stovetop on low heat. It’ll allow you to make sure that the chocolate melts slowly because you don’t want to end up with burnt chocolate.
Step 3: Keep Stirring
Right after you place the boiler on the stovetop, grab a spatula, and start stirring the chocolate. It’ll eliminate even the slightest chance of burning the dark chocolate.
Using a silicone or rubber spatula is recommended for the stirring process because a wooden spoon can absorb moisture. The entire melting process shouldn’t take more than 2 to 3 minutes.
Step 4: Add Butter and Milk
Once the chocolate is melted and you don’t feel any solid chunks, add butter and condensed milk. Use one hand to pour the condensed milk (4 tablespoons) and the other to stir the mixture, and the same is true while adding butter (2 tablespoons).
Both of these additional ingredients will help to create a soft and sweet milk chocolate bar. The more milk you’ll add, the softer the end result will be. So, if you want milk chocolate that doesn’t melt at room temperature, then you’ll need to decrease the amount of condensed milk. But in that case, you’ll need to use powdered sugar or any other sweetener (half to 1 teaspoon).
Keep stirring the mixture after adding the ingredients until you achieve a consistent and smooth paste. If you feel that the mixture is too thick, then consider adding 1 tablespoon of whole milk. You can also taste the mixture to make sure that it’s sweet according to your preferences.
Important Note:
Finding the right balance between dark chocolate and milk can be a little tricky. The amounts that we have mentioned will produce the best results if you’re using dark chocolate with 50 percent of cocoa solids.
If you’re using dark chocolate with a higher cocoa percentage, then you’ll need to use more milk, butter, and sweetener to achieve the same results. For example, if you’re using dark chocolate with 85 percent of cocoa, then you can double the number of additional ingredients.
Step 5: Cool the Chocolate
Once the chocolate has become smooth and consistent, remove it from the stovetop and pour it into the container of your choice. But we recommend you use your favorite candy molds to create cute milk chocolate bars.
After pouring the mixture, place the container somewhere dry and cool. It’ll be ready once it comes to room temperature. Don’t place it in your refrigerator because it’ll affect the texture. The chocolate will remain fresh and edible for several months, and you can enjoy it whenever you want.
Tips to Keep in Mind While Making Milk Chocolate from Dark Chocolate

Now that you understand how to make milk chocolate from dark chocolate let’s discuss some important tips that will come in handy in different situations. Keep that in mind to make sure that you only get the best results whenever you make milk chocolate.
Use a Microwave or Oven
If you don’t have a double boiler, then there is nothing to worry about. You can use your microwave or oven to melt the chopped dark chocolate. If you want to use the oven, then you’ll need to preheat it to 300 degrees Fahrenheit.
If you use the microwave, you’ll need to set it to 50 percent power. In both cases, you’ll need to heat the chocolate for about 1 to 2 minutes but not continuously. Checking the chocolate after every 15 seconds and stirring it will be important to keep it from burning.
Keep the Container with Chocolate Uncovered While Heating
It’s important to make sure that the container is uncovered when heating the chocolate, irrespective of your method. Otherwise, the steam will condense and turn into water that will fall into the chocolate. Not only will it decrease the consistency of the chocolate, but it’ll also affect the end result.
Keep Experimenting
After you’ve completed the process of creating milk chocolate from dark chocolate, you’ll surely want to know if you got the flavor just right. To be honest, it might not have the same flavor as milk chocolate made from milk powder.
Milk chocolate, as the name implies, has a milkier flavor. It comes with a creamier texture than that of dark chocolate. The key is to find the perfect balance between the amount of dark chocolate and milk.
You can follow the method that we discussed in this guide if you have dark chocolate with 50 percent cocoa. But you’ll need to use more milk and butter if you’re using dark chocolate with a higher cocoa percentage, and you can find the perfect ratio by experimenting.


